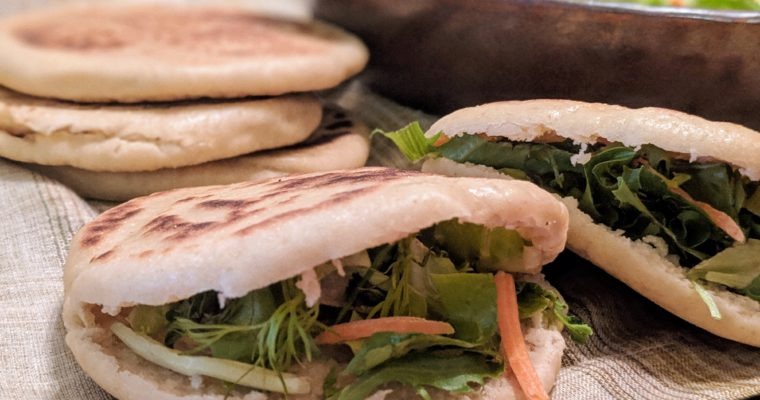
Let me confess. I indulge in Pita Bread wraps every time we dine at Mediterranean restaurants.
Initially we started to get pita breads from neighborhood grocery stores and consuming them with much delight. But the mother inside warns me is this what I want to offer them hmmm…… a big NO Right? I know mothers can relate with me here (lot of my toddler-mom friends go through this)
So, I started making them at home and never looked back as I can control the ingredients in a recipe and I know what is going inside their tiny tummies and its very easy to make at home.
You can make pita bread either in an oven or on a stovetop. This recipe uses mix of whole wheat and all-purpose flour, but you can use only all-purpose flour.
Ingredients:
All Purpose Flour – 1 ½ cup
Whole wheat flour – 1 ¼ cup
Honey – 1teaspoon
Active Dry Yeast- 2 teaspoon
Warm water- 1cup
Salt- 1teaspoon
Extra Virgin Olive Oil- 1Tablespoon
Instructions:
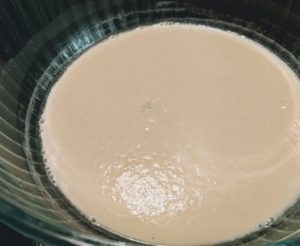
Mix water, honey and yeast and let sit for 5-10 minutes until the yeast dissolves and starts to foam.
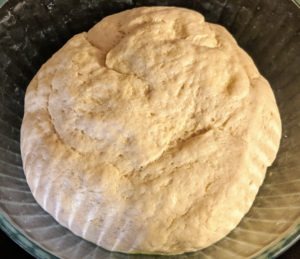
Add flour, salt, olive oil and mix for couple of minutes, until it comes together.
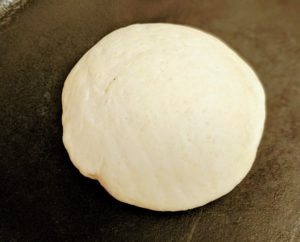
Sprinkle a little of extra flour onto your clean work surface and knead the dough for about 5-7 minutes, until the dough is smooth.
Place the dough in a clean bowl and coat with oil. Cover with a clean dishcloth or plastic wrap and let the dough rise until its doubled in size around 1-11⁄2 hours.
At this point, you can refrigerate the pita dough until it is needed. You can also bake one or two pitas at a time, saving the rest of the dough in the fridge. The dough can be kept refrigerated for about a week
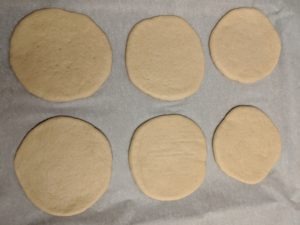
Gently deflate the dough and divide the dough into 7 equal pieces and gently flatten each piece into a thick disk and roll the pieces into a circle at about a 1⁄4-inch-thick using rolling pin.
To Bake Pitas in the Oven:
While shaping the pitas, heat the oven to 450°. Place a large baking sheet on the middle rack to heat.
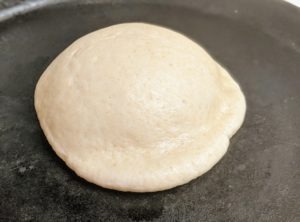
Place the rolled-out pitas directly on the baking sheet and bake for about 3 minutes. The pita will start to puff up after a minute or two and is done when it has fully ballooned. To retain freshness, cover baked pitas with a clean dishtowel while cooking remaining pitas.
On Stovetop:
Warm a cast iron skillet over medium-high heat and drizzle oil in the pan and wipe off the excess.
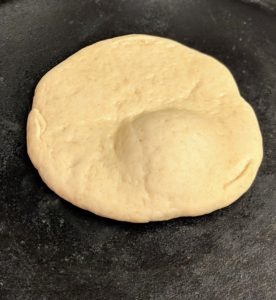
Lay a rolled-out pita on the skillet and bake for 30 seconds, until you see bubbles starting to form. Flip and cook for 1-2 minutes on the other side, until large toasted spots appear on the underside. Flip again and cook for another 1-2 minutes to toast the other side.
| | | |
|- |- |- |
|
|
|
|
The pita should start to puff up during this time; if it does not or if only small pockets form, try pressing the surface of the pita gently with a clean towel.
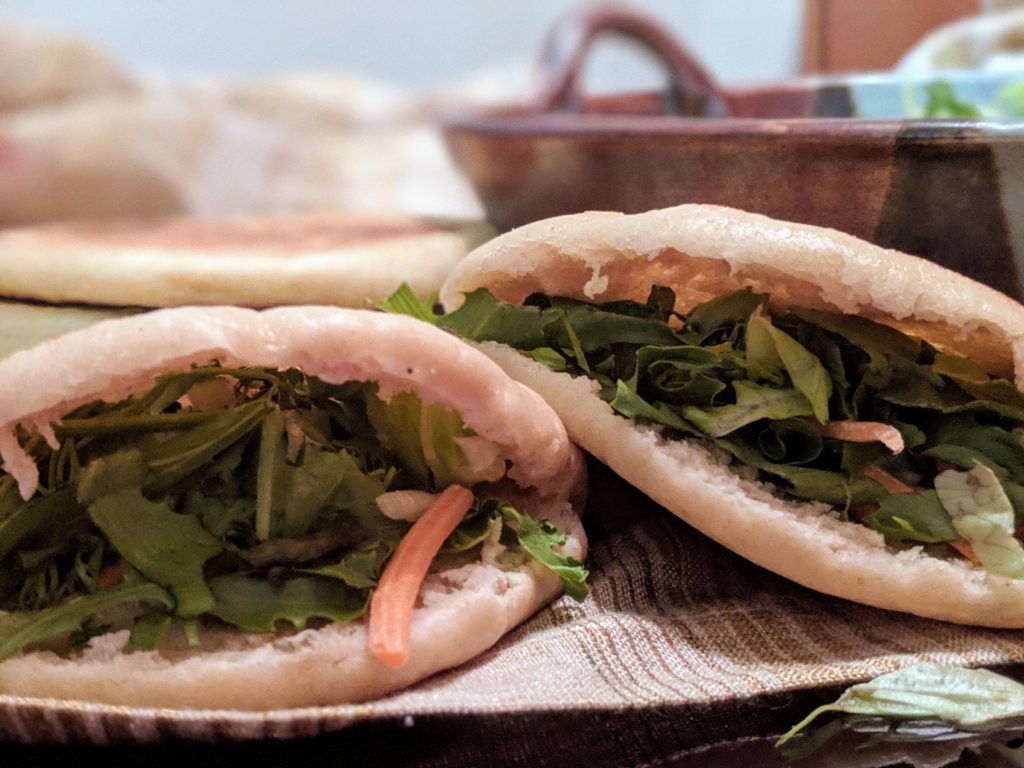
Stuffed with Costco Salad
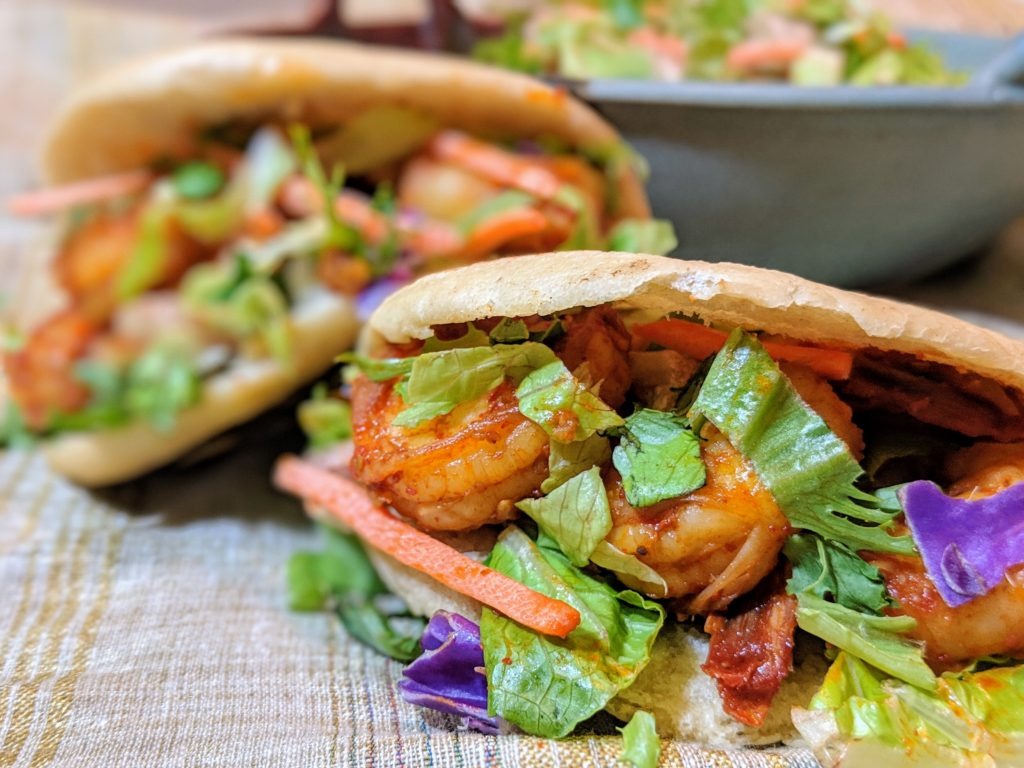
Stuffed with Salad and Shrimp stir-fry.
Storing the Pitas:
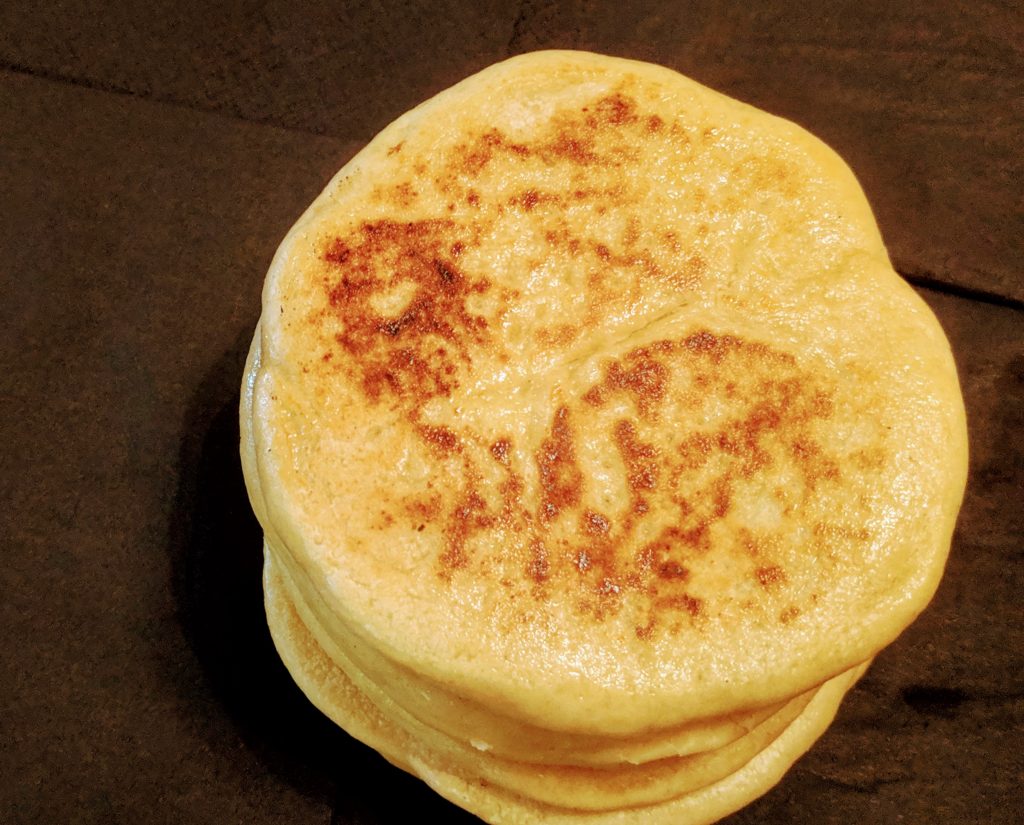
Pitas are best when eaten immediately after cooking. Leftover pitas can be kept in an airtight bag for several days and can be eaten as they are warmed in a toaster oven. Baked pitas can also be frozen with wax paper between the layers for up to three months.
Storing the Dough:
Once it has risen, the pita dough can be kept refrigerated until it is needed. You can also bake one or two pitas at a time, saving the rest of the dough in the fridge. The dough will keep refrigerated for about 4-5 days.
Variation:
For extra flavorful pita, on one side of each flattened disk brush with olive oil and sprinkle with Zaatar (a middle eastern blend of thyme, sesame seeds, and sumac) before baking.